6 Form Tips To Improve Your Deadlift: A Complete Guide
PERFECTING YOUR DEADLIFT:
The deadlift can be a difficult compound exercise to master. But these 6 easy tips can help improve your form!
Want me to break down a specific exercise? Let me know in the comments below!
Introduction Complete Guide
As a strength enthusiast and certified personal trainer, I’ve spent years honing my deadlift technique and helping others do the same. The deadlift is often called the king of all exercises, and for good reason. It’s a compound movement that engages multiple muscle groups simultaneously, making it an excellent tool for building overall strength and muscle mass. However, mastering the deadlift isn’t just about lifting heavy weights; it’s about doing so with proper form to maximize gains and minimize the risk of injury.
We’ll explore six crucial form tips to improve your deadlift. Whether you’re a beginner looking to start your deadlifting journey or an experienced lifter aiming to refine your technique, these tips will help you take your performance to the next level. By focusing on proper form, you’ll not only lift more weight but also do so safely and efficiently.
I’ll share my personal experiences, insights from top strength coaches, and scientific research to provide you with a well-rounded understanding of the deadlift. We’ll delve into the biomechanics of the movement, common mistakes to avoid, and strategies for incorporating deadlifts into your training routine. By the end of this guide, you’ll have the knowledge and tools to transform your deadlift and, by extension, your overall strength and physique.
So, let’s dive in and unlock the secrets to a stronger, more technically sound deadlift!
Understanding the Deadlift
Before we get into the specific form tips, it’s crucial to understand what the deadlift is and why it’s such an important exercise. The deadlift is a fundamental human movement pattern that involves lifting a weight from the ground to a standing position. It’s a compound exercise that primarily targets the posterior chain – the muscles along the back of your body, including the hamstrings, glutes, and lower back.
When performed correctly, the deadlift offers numerous benefits:
- Strength Development: The deadlift is one of the best exercises for building overall body strength. It engages multiple large muscle groups simultaneously, leading to significant strength gains.
- Muscle Growth: Due to its compound nature, the deadlift stimulates muscle growth throughout the body, particularly in the back, legs, and core.
- Improved Posture: Strengthening the posterior chain helps counteract the effects of prolonged sitting and can lead to better posture in daily life.
- Functional Fitness: The deadlift mimics real-life movements like picking up heavy objects from the ground, making it highly transferable to everyday activities.
- Increased Bone Density: Heavy resistance training, including deadlifts, has been shown to increase bone density, which is crucial for long-term health and injury prevention.
- Hormonal Benefits: Compound exercises like the deadlift have been associated with increased production of anabolic hormones, which can contribute to overall muscle growth and fat loss.
As someone who has incorporated deadlifts into my training regimen for years, I can attest to these benefits firsthand. When I first started deadlifting, I was amazed at how quickly my overall strength improved, and I noticed changes in my physique that I hadn’t achieved with other exercises.
The Importance of Proper Form
Now that we understand the benefits of deadlifting, let’s discuss why proper form is absolutely crucial. In my years of coaching and personal experience, I’ve seen how good form can make the difference between steady progress and frustrating plateaus – or worse, injuries.
Proper deadlift form:
- Maximizes Muscle Engagement: When you perform the deadlift with correct form, you ensure that the target muscles are doing the work, leading to better strength and muscle development.
- Reduces Injury Risk: Poor form can put unnecessary stress on your lower back, knees, and other joints. By maintaining proper form, you significantly reduce the risk of both acute and chronic injuries.
- Improves Efficiency: Good form allows you to lift more weight with less effort. This means you can progress faster and achieve your strength goals more quickly.
- Enhances Mind-Muscle Connection: Focusing on proper form helps you develop a stronger mind-muscle connection, which can improve your overall body awareness and control.
- Ensures Consistent Progress: When you maintain good form, you create a repeatable movement pattern that allows for consistent progress over time.
As we move into the specific form tips, keep in mind that perfecting your deadlift technique is an ongoing process. Even after years of practice, I still find myself refining my form and learning new cues to improve my lift. It’s this constant pursuit of perfection that makes the deadlift such a rewarding exercise.
Now, let’s dive into the six form tips that will help you improve your deadlift and take your strength to new heights.
6 Form Tips To Improve Your Deadlift
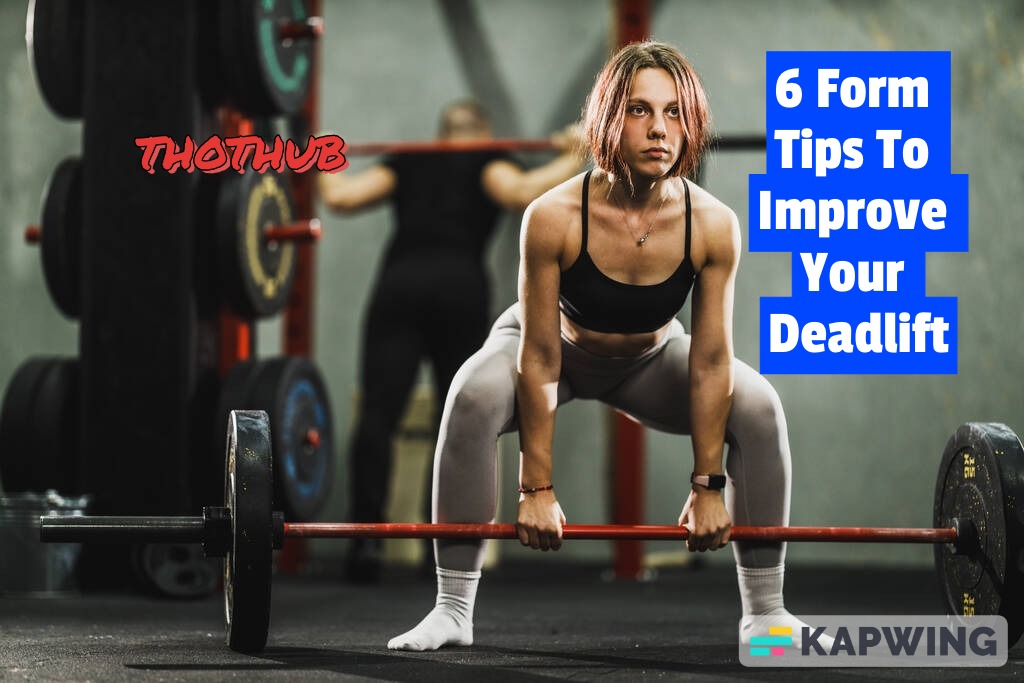
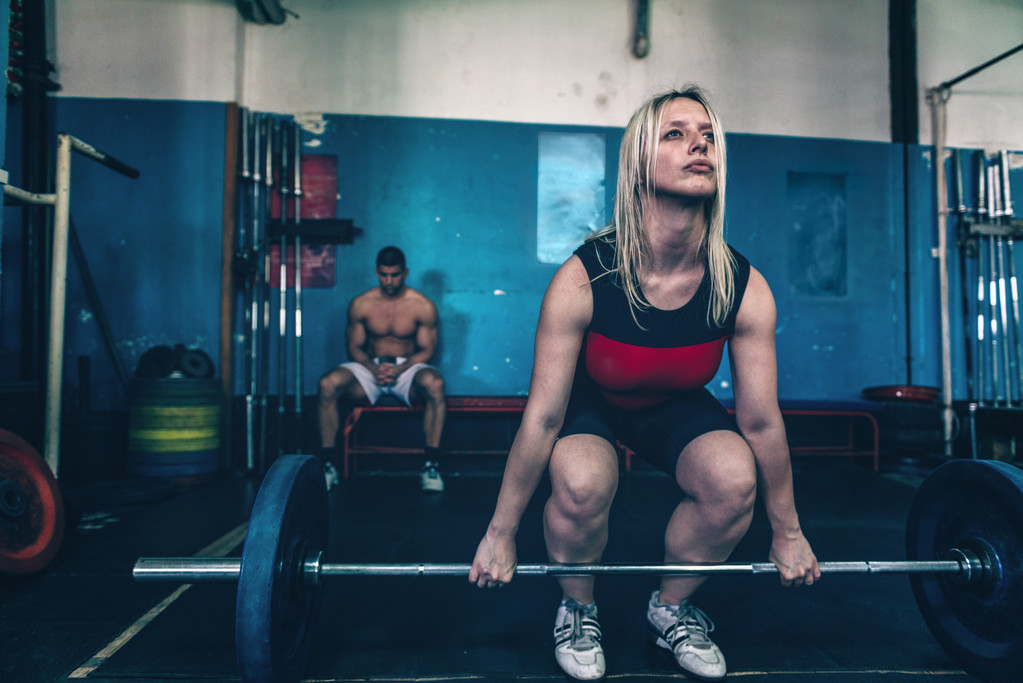
Tip 1: Master the Setup
The foundation of a strong deadlift begins before you even touch the bar. A proper setup is crucial for maintaining good form throughout the lift. Here’s how to nail your setup:
- Foot Position:
- Stand with your feet hip-width apart, with the bar over your midfoot.
- Your toes can be pointed slightly outward (about 15 degrees) for better stability.
- Grip the Bar:
- Bend at your hips and knees to reach the bar.
- Grip the bar just outside your legs, about shoulder-width apart.
- You can use either a double overhand grip or a mixed grip (one hand over, one under) for heavier lifts.
- Set Your Back:
- Lower your hips and lift your chest.
- Pull your shoulders back and down, engaging your lats.
- Look slightly forward, keeping your neck in a neutral position.
- Create Tension:
- Take a deep breath into your belly and brace your core.
- Pull the slack out of the bar by slightly lifting it, but not off the ground.
In my experience, a good setup can make or break your lift. I remember when I first started deadlifting, I would rush through my setup, eager to start pulling. This often led to a rounded back and inefficient lifts. Once I learned to take my time and focus on each aspect of the setup, my deadlift immediately felt stronger and more controlled.
Tip 2: Engage Your Lats
Engaging your lats (latissimus dorsi) is a crucial yet often overlooked aspect of a strong deadlift. Your lats play a vital role in stabilizing your spine and keeping the bar close to your body throughout the lift. Here’s how to properly engage your lats:
- Imagine Protecting Your Armpits:
- Think about squeezing oranges in your armpits.
- This cue helps activate your lats and keeps your upper arms close to your torso.
- Pull the Bar Into Your Shins:
- As you set up, imagine pulling the bar slightly into your shins.
- This action naturally engages your lats and sets them for the lift.
- Rotate Your Elbows:
- Try to point your elbows towards the wall behind you.
- This internal rotation of the shoulders helps activate the lats.
- Maintain Lat Engagement Throughout the Lift:
- Keep your lats engaged as you lift the bar off the ground and throughout the entire movement.
I learned the importance of lat engagement the hard way. In my early days of deadlifting, I would often feel the bar drifting away from my body, making the lift much harder than it needed to be. A strength coach pointed out that I wasn’t engaging my lats properly. Once I focused on this cue, I felt an immediate difference – the bar path became more vertical, and I could lift heavier weights with less effort.
Tip 3: Drive Through Your Heels
Proper force transfer is essential for a strong deadlift, and it all starts with your feet. Driving through your heels ensures that you’re using your posterior chain effectively and maintaining balance throughout the lift. Here’s how to implement this tip:
- Root Your Feet:
- Before initiating the lift, feel your entire foot planted firmly on the ground.
- Imagine you’re trying to spread the floor apart with your feet.
- Shift Your Weight Back:
- As you begin the lift, shift your weight slightly towards your heels.
- You should feel the pressure in the middle to back part of your foot.
- Push the Floor Away:
- Instead of thinking about lifting the bar, imagine you’re pushing the floor away with your feet.
- This mental cue helps engage your legs more effectively.
- Maintain Heel Contact:
- Throughout the entire lift, keep your heels in contact with the ground.
- Avoid shifting onto your toes, as this can throw off your balance and reduce power.
I remember a particular training session where this tip clicked for me. I was struggling with a weight that I knew I should be able to lift. My training partner reminded me to focus on driving through my heels. When I applied this cue, it felt like I suddenly had access to a new source of power. The bar came up smoothly, and I realized I had been leaving a lot of strength on the table by not focusing on this aspect of the lift.
Tip 4: Maintain a Neutral Spine
Maintaining a neutral spine is crucial for both performance and safety in the deadlift. A neutral spine means keeping your back straight, but not necessarily vertical. Here’s how to achieve and maintain a neutral spine:
- Set Your Lower Back:
- As you set up for the lift, arch your lower back slightly.
- This creates a natural curve in your lumbar spine.
- Brace Your Core:
- Take a deep breath into your belly and brace your abs as if you’re about to be punched.
- This creates intra-abdominal pressure that supports your spine.
- Keep Your Chest Up:
- Lift your chest and pull your shoulder blades down and back.
- This helps maintain the natural curve in your upper back.
- Look Forward:
- Keep your gaze fixed on a spot on the floor about 6-8 feet in front of you.
- This helps maintain a neutral neck position.
- Maintain Spinal Position Throughout the Lift:
- As you lift, focus on keeping your back angle consistent until the bar passes your knees.
Maintaining a neutral spine was one of the hardest aspects of the deadlift for me to master. I often found myself rounding my back, especially on heavier lifts. It took consistent practice and feedback (often using video recordings of my lifts) to ingrain proper spinal positioning. Once I did, though, not only did my lifts feel stronger, but I also experienced less back pain and fatigue after deadlift sessions.
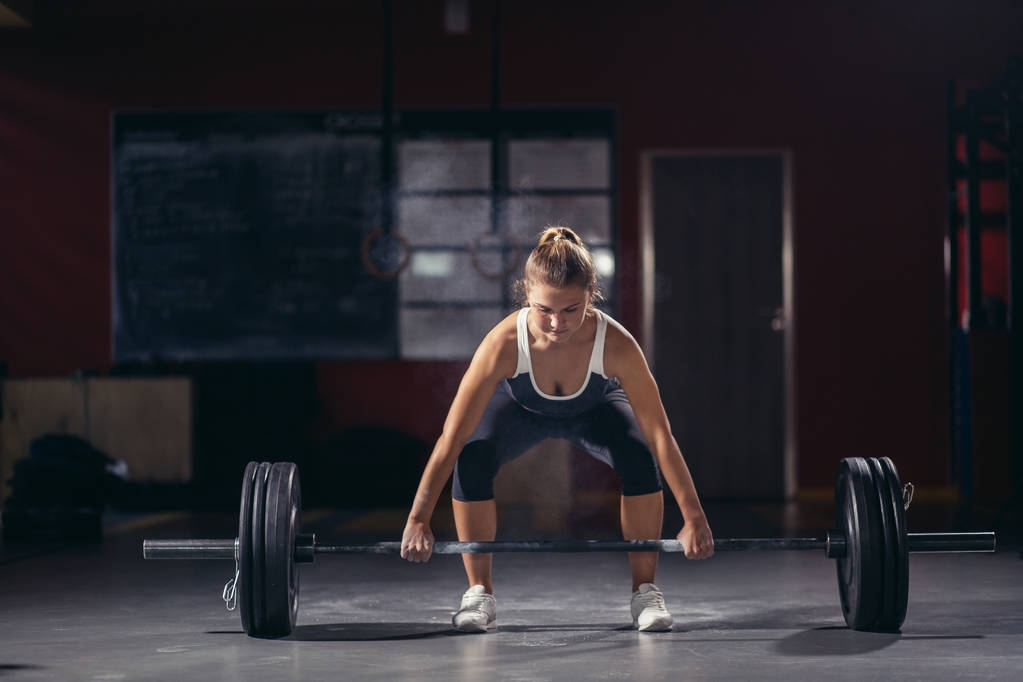
Tip 5: Hip Hinge Properly
The hip hinge is the fundamental movement pattern of the deadlift. Mastering this movement is crucial for both performance and injury prevention. Here’s how to perform a proper hip hinge:
- Start with Soft Knees:
- Begin the movement by softening your knees slightly.
- This allows your hips to move back more easily.
- Push Your Hips Back:
- Imagine there’s a wall behind you and you’re trying to touch it with your butt.
- Keep pushing your hips back until you feel a stretch in your hamstrings.
- Maintain a Long Spine:
- As you hinge, keep your back straight and chest up.
- Your torso should lower as your hips move back.
- Allow Natural Knee Bend:
- Your knees will bend naturally as you hinge, but the movement should be initiated and dominated by the hip movement.
- Keep the Bar Close:
- As you hinge down to the bar and back up, keep it close to your legs.
- The bar should nearly graze your shins and thighs throughout the movement.
Learning to hip hinge correctly was a game-changer for my deadlift. I used to initiate the lift by squatting down to the bar, which put me in a poor position to generate force. Practicing the hip hinge with light weights and even just a broomstick helped me groove the correct movement pattern. Once I applied it to my heavy deadlifts, I found I could generate much more power from my posterior chain.
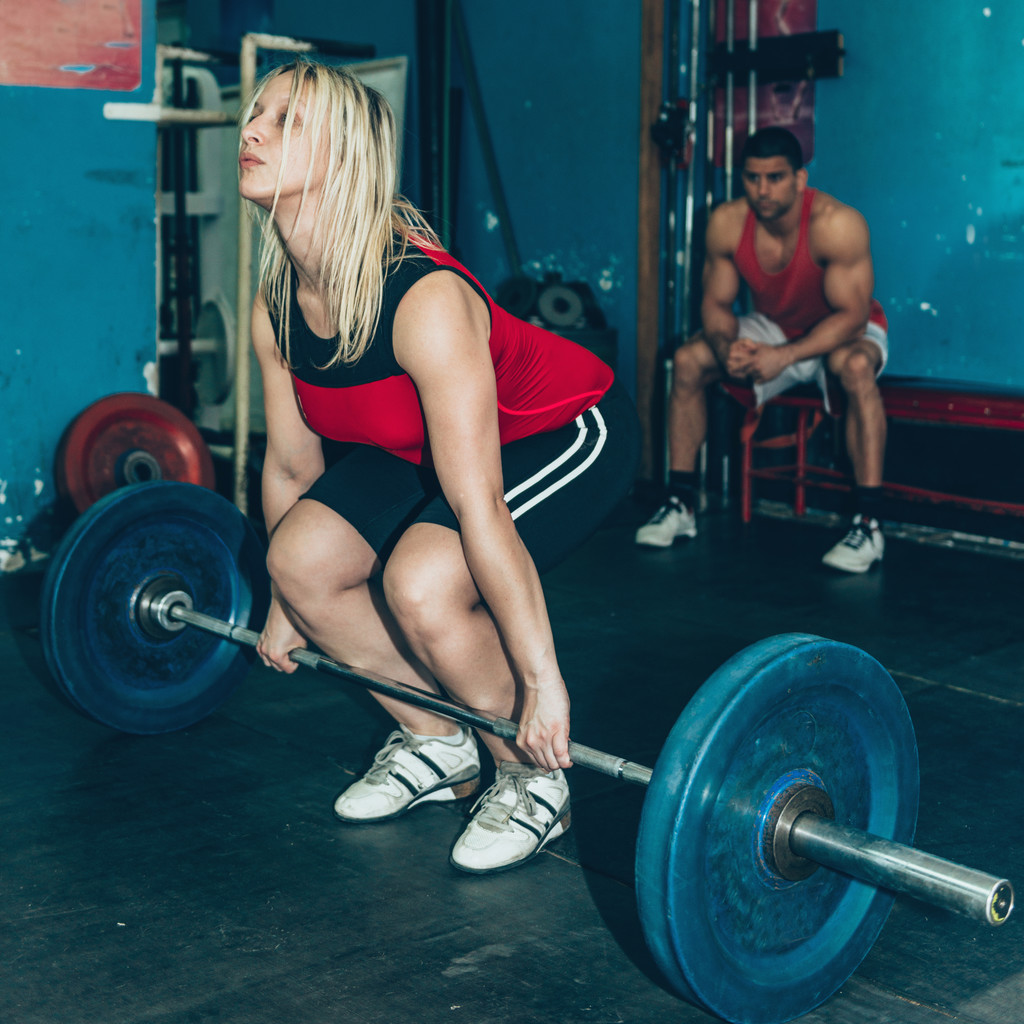
Tip 6: Lock Out with Power
The lockout is the final phase of the deadlift, where you fully extend your hips and stand tall with the weight. A strong lockout is essential for completing the lift and engaging your glutes and lower back effectively. Here’s how to lock out with power:
- Drive Your Hips Forward:
- As the bar passes your knees, focus on driving your hips forward to meet the bar.
- Think about squeezing your glutes to bring your hips to the bar, not pulling the bar to your hips.
- Stand Tall:
- At the top of the lift, stand as tall as possible.
- Imagine you’re trying to make yourself as long as you can.
- Squeeze Your Glutes:
- At the top of the movement, squeeze your glutes hard.
- This ensures full hip extension and engages the right muscles.
- Keep Your Shoulders Back:
- Avoid shrugging or rolling your shoulders at the top.
- Keep your shoulder blades pulled down and back.
- Breathe Out:
- Exhale forcefully at the top of the lift.
- This helps maintain core tension and completes the bracing cycle.
I used to struggle with the lockout, often feeling like I was leaning back too far or not engaging my glutes fully. Focusing on driving my hips forward rather than pulling with my back made a huge difference. Not only did it allow me to complete heavier lifts, but it also helped me feel the exercise more in my glutes and hamstrings, which is exactly what we want from a deadlift.
Now that we’ve covered the six key form tips, let’s look at how to implement them effectively in your training.